A few years ago someone mentioned the book Body Ecology to me and rather than run out and buy the book (because I really don’t need another book at all), I took a look at the website. I noticed the recipe for fermented vegetables and decided to give it a try, learning that fermented foods are important for good gut health. At Body Ecology they say that you can make the vegetables without salt. I tried and have to say that it didn’t work out well. They pretty much turned into a stinky, slimy mess. Yet that didn’t deter me. I kept at it, using some salt and began fermenting the green tomatoes I had, as well as hot peppers. (Think of Peter Piper picked…)
Shortly after my beginning attempts, I had a chance to take a local fermenting class with Sandor Katz of Wild Fermentation. That was about 3 years ago and things have been bubbling along ever since. My fermented vegetables have gotten better and more varied, my equipment cache has expanded and I’ve been having more fun with it, which is why I want to share some of it with you (which I intend to do over a number of posts). Here I share some information on fermenting vegetables.
Just last week, Kim O’Donnell who hosts a food chat called Table Talk on Thursdays at 10 am PST on Culinate had on Sherri Brooks Vinton, author of the new book Put ‘Em Up, which is all about preserving. I unfortunately missed the chat but read the transcript and realized that the chat included a bit about fermented foods. That led to an email discussion with Sherri. She graciously shared her recipe for sauerkraut from the book. Sherri told me that there aren’t many recipes for fermenting in the book but from looking at the book’s contents on her website, I can tell you that if you’re going to do any canning this year, you’ll want this book for its wonderfully inventive recipes. But back to fermenting.
I’ve decided that cool weather fermenting often yields better and more complex flavors but it takes a lot longer. I like all of it. What I don’t like is the fact that these foods must be refrigerated, and that means that I have less room in my frig for other food. I guess to look at it in a positive light, my husband has no idea what’s in all the jars so he leaves them alone. Truth be told, he doesn’t care for fermented foods, and often asks, “What do have rotting here on the counter top?” I don’t respond.
In an effort to be nice and because he can’t stand the smell, I deal with my fermentations when he’s not around. Some of them do “stink” but in a tantalizing way.
Here I share Sherri’s recipe for Classic Fermented Sauerkraut. I do not make classic kraut but variations on it with all kinds of vegetable ingredients, herbs, spices and more. If you haven’t done any fermenting, start with this easy recipe.
Classic Fermented Sauerkraut
Makes about 2 quarts
My friend Bekah Wilce is quite a fan of fermenting. If it grows, she can bring it to its festering
fruition. This is her recommendation for a basic, fermented kraut.
Note: Because the high temperatures of the boiling-water method would destroy the beneficial
probiotic bacteria that result from the fermentation process, canning is not recommended.
ingredients
5 pounds white cabbage (1 large head or 2 small)
5 tablespoons kosher salt
1 tablespoon juniper berries or caraway seed
(Jill’s note: I don’t care for the juniper berries or caraway but add them if you like. I also usually use only 3 tablespoons salt to the cabbage You can choose to do what you like.)
prepare
1. Peel away the outer leaves of the cabbage,and then quarter and core. Shred it finely using a knife, mandoline, or kraut board.*
Toss with the salt and juniper berries in a large nonreactive bowl until thoroughly combined. Transfer to a 1-gallon glass jar or ceramic crock and press down. Top the cabbage with a clean plate, just smaller than the opening of the jar. Fill a clean quart jar with water and use it to weight down the plate. Cover with a clean dish towel and remove to a cool place.
2. Check the kraut after 24 hours. With the help of the plate, all the cabbage should be submerged. If it’s not, pour enough brine (1 tablespoon of salt to 1 cup of water) over the cabbage to cover it.
3. Check the cabbage daily. Tiny bubbles should be rising through the liquid (easy to see in a glass container). If a scum has formed, don’t worry; just ladle it from the top of the liquid and wash and replace the plate and jar. Add more brine, if necessary, to keep the cabbage submerged. The kraut will be fully fermented in 1 to 2 weeks at room temperature or 3 to 4 weeks in a cool basement.
You’ll know it’s done when it stops bubbling and is a pale golden color.
*A kraut board is a traditional tool for shredding cabbage, similar to a wooden mandoline.
Preserve
Refrigerate: Store in the refrigerator, covered, for up to 1 month.
by Sherri Brooks Vinton
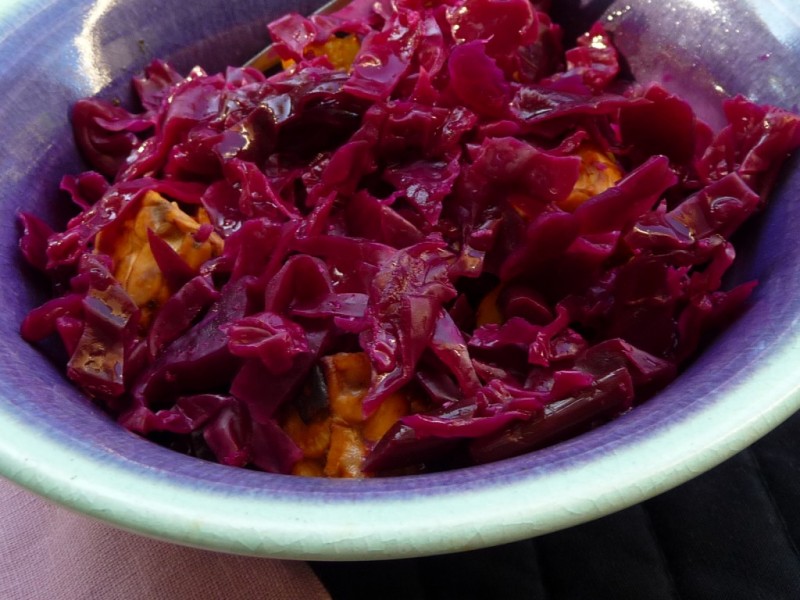
I store my kraut for longer than a month, and love to use both red and green cabbage together, or just red, to produce a wonderfully rich purply-red result, seen both above and below.

Greetings to you! I am so excited to see your post. Two nights ago I learned about using a scale and weighing the food, water and salt at Pro Home Cooks at https://www.youtube.com/results?search_query=prohome+cooks
I totally enjoy all your posts and all the things you want to teach us.
I know my hubby would say the exact same thing yours said.
I will try your recipe with half a large cabbage. Thanks and take care…
It is a good idea to use a scale for weighing for accuracy. Since I am not producing any commercial products, I just “go for it” and make what I make.
I hope that your kraut turns out great.